
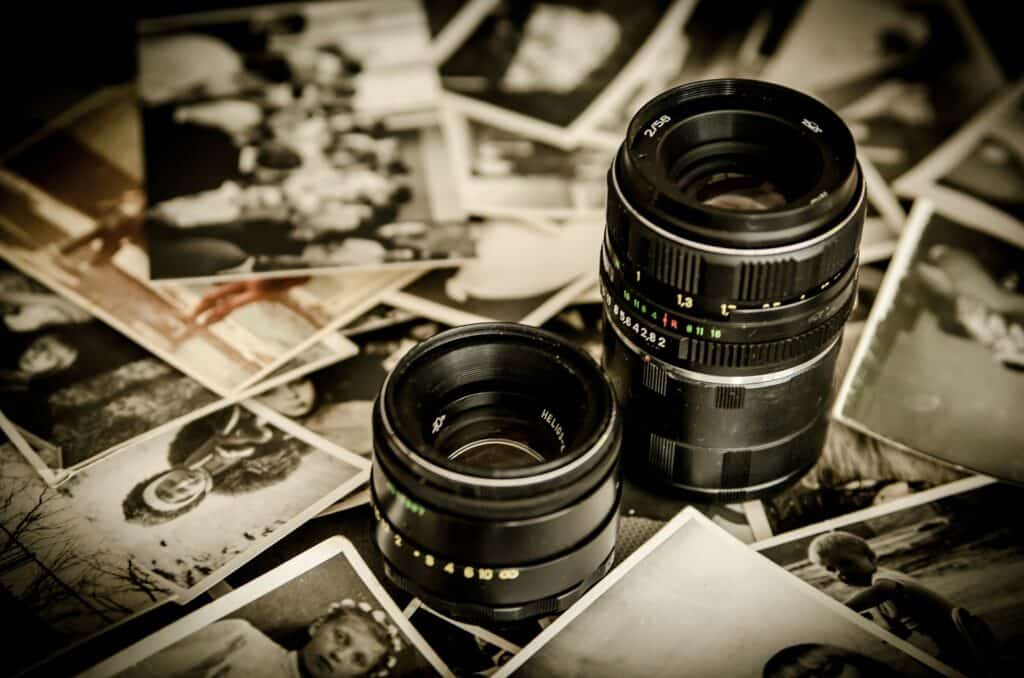
If you are anything like me, you have thousands of unorganized photos from all your travels. I discovered the best way to organize photos and it is a fairly simple and efficient approach to organize photos from all my travels and family events.
Remind yourself of the reasons you take photos
It is important to consider why you take photos. If you are like me, you download them with the intent of making a scrapbook or travel photo book someday. Perhaps you like sharing your photos with friends and family? Organizing digital photos can help you put your scrapbook or travel photo book together much faster!
Keep it simple!
The more complicated your digital photo organization system, the less likely that you will actually use it. A system that is not used to organize photos, may as well not exist. To make sure you use your photo organization system, keep it simple!
Easier backups
Organizing digital photos can making backing it up much easier since the photos will all be in one place. Backing your photos up is essential to make sure you don’t lose or delete a photo completely.
If you are not sure about the best way to organize photos, read on!

7 Steps to organize photos
Follow these steps to know how to organize photos quickly and efficiently.
1. Gather all your photos
First, gather all your memory cards and identify all the folders on your laptop where you have photos stored. Take one memory card or folder at a time to work through the following steps.
2. Delete the bad or duplicate photos
Go through the photos and delete all the photos where heads are missing, where the photo is blurry or where there are several versions of the same photo. It is better to only have quality photos and not loads of bad photos.
3. Decide on a central location for your photos
Choosing a dedicated location is essential to organize photos. This location could be on your laptop or online. Choose one option for organizing digital photos, you can always make backups to other locations or devices to reduce the risk of losing photos if anything happens to any of your photo storage locations. Read this article for some online photo storage options. I use my Google Drive as my primary storage facility, but I do back it up to my laptop to ensure I have access for those days when the WiFi is not working or I don’t have online access. I also love Google Photos where photos are uploaded automatically from my smartphone and laptop.
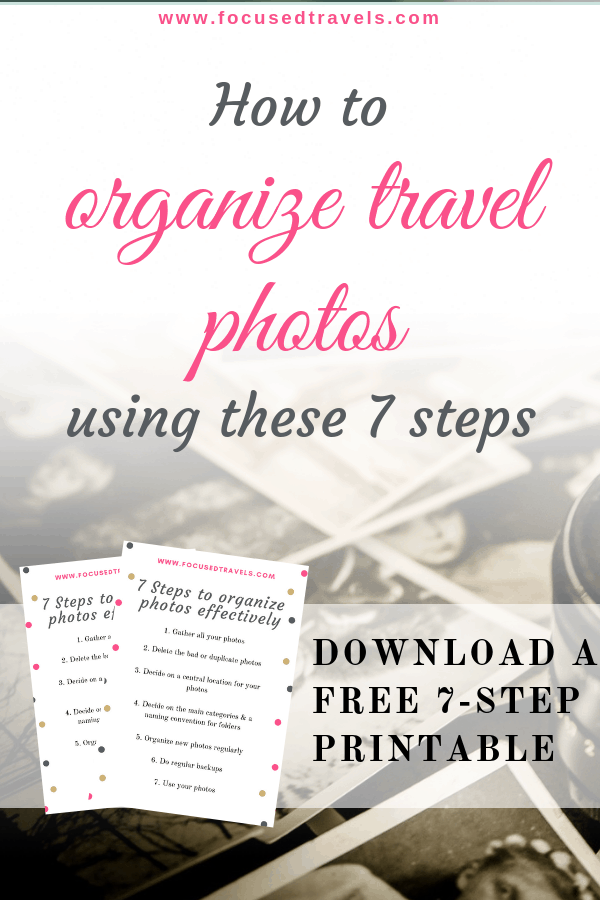
4. Decide on the main categories for your photos and a naming convention for folders
Once you have decided where your central photo hub will be housed, you should decide what your main photo categories will be. You may like organizing digital photos by theme, such as birthdays or special occasions, people or places. Identify the main categories that will make sense to you and help you find photos again in the future. Create folders using a naming convention that reflects your main photo categories.
Using subfolders to organize photos
For me, all photos are first sorted into the year they were taken in. For example, all my 2018 photos would be in a 2018 folder. I then create folders for each month in the following format: 2019-01 which will be the folder for all January 2019 photos. From there I would create folders for the dates I actually took the photos. I also combine this with descriptions about locations visited or events. An example is 2019-01-10 Sam Birthday, which is where I will store all Sam’s birthday photos. This format keeps my folders in chronological order.
I also only create folders for a month/day if anything was taken for that date. So, if I took no photos on 2019-01-11, the folder simply won’t exist. If I had more than one event or visited more than one location on a specific date, I would simply have two folders, each reflecting the specific event/location. If Sam’s birthday was on 10 January 2019, but I also visited a museum on that day, I will have two folders, namely, 2019-01-10 Sam Birthday and 2019-01-10 History Museum. This allows me to focus on the specific event or place if I ever need to access the photos for that day.
5. Use your new system to organize photos regularly
Once you have set your photo organisation system up, it is important to regularly upload and organize photos. This way you will never fall behind again and you will know where all your photos are.
6. Do regular backups!
Once your digital photo hub has been created and all your photos sorted out, make sure to create a backup. If your digital photo hub is online, you can create backup on your laptop, on an external hard drive or even online. Remember to do regular backups, especially if you have added new photos recently. Having more than one backup facility is the best way to ensure you never lose any of your precious photos.
7. Use your photos
Organizing photos means they are easily available for use. There are so many possibilities, including printing the photos and hanging it on your walls or placing them in an album. Scrapbooking and travel photo books are further options.
How do you organize your travel photos? Do you have specific software you use or do you do it manually like me? What do you use your travel photos for?